
Why RLS is NOT Optional for Every Supabase Project
A deep dive into Supabase's security model and how to protect your data.

Do I need RLS enabled when using Supabase?
Yes, you do. In almost every single case. And simply enabling it is often not enough. I'm starting with the most important point in case you get bored already and are about to close this article.
If you want to understand the "why," I encourage you to read on.
The Rise of Supabase
Supabase has seen a massive surge in popularity recently. As a serverless database built on top of PostgreSQL, it's incredibly easy to integrate into development workflows. With added features like Auth and Storage, it has become a highly effective choice for personal projects and startups aiming to start small and scale.
However, this convenience comes with a catch: a small misconfiguration can lead to critical security incidents.
For instance, a famous AI low-code platform called Lovable had an improper RLS configuration that caused severe data exposure.
To use Supabase securely, let's dive into how RLS works and how to configure it correctly.
What is RLS?
As many of you may know, RLS isn't originally a Supabase feature; it's a feature of PostgreSQL, introduced in version 9.5.
RLS stands for Row-Level Security. What does "Row-Level" mean? It means you can control access to data on a per-row basis within your database tables.
You've probably written a query like this before:
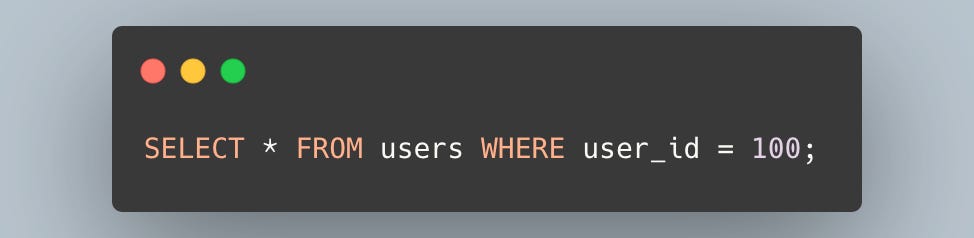
In most web applications, data for multiple users is stored in the same table. It's standard practice to use an ID in the WHERE clause to ensure that specific data is only visible to the intended user.
Let's look at another example.
Imagine a SaaS application with a concept of "tenants," where each tenant has multiple users. We write a function to fetch the details of a specific user within a specific tenant.
In such a case, you might put IDs in a different order.
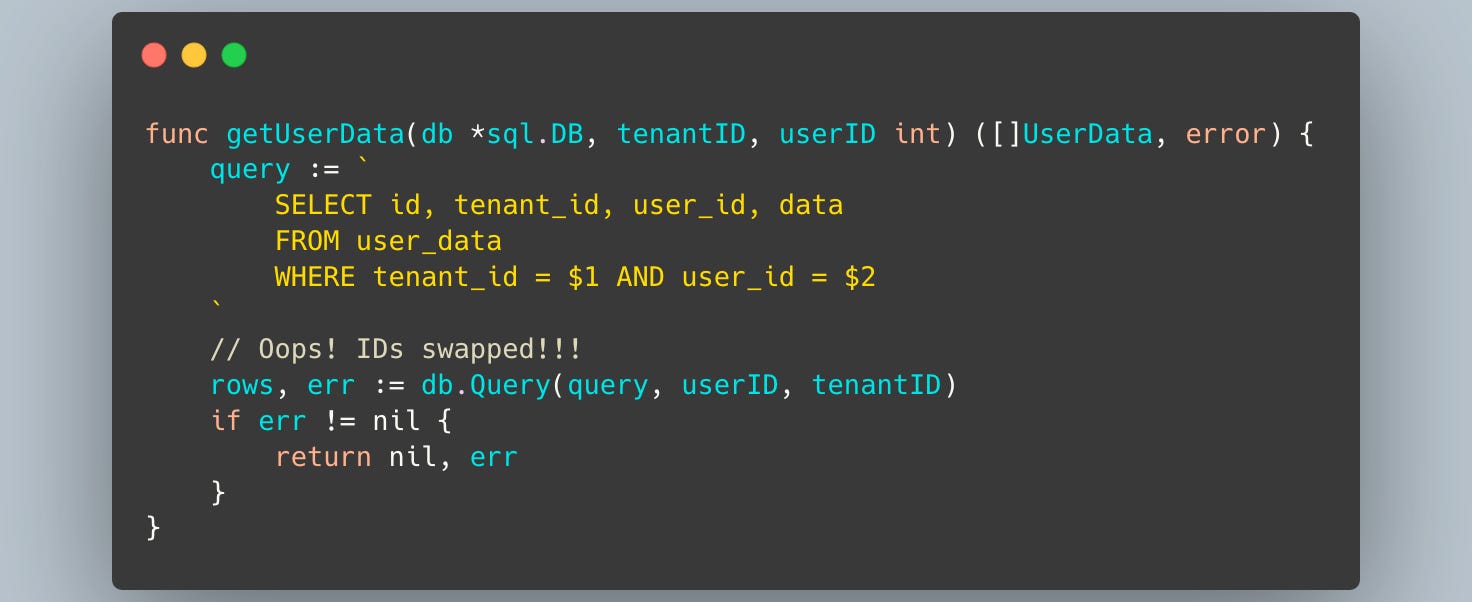
If the IDs are simple auto-incrementing integers, this bug could easily cause the function to fetch data for a different user in a different tenant.
This is a simple example, but in a real-world application with more complex queries, completely avoiding bugs like this is difficult.
RLS is the mechanism that allows you to enforce these "who can see what" rules directly at the database layer.
How Do You Use RLS?
I'll introduce two common methods for using RLS in a real world application: runtime configuration parameters and roles.
Using Runtime Configuration Parameters
First, you enable RLS on a specific table.
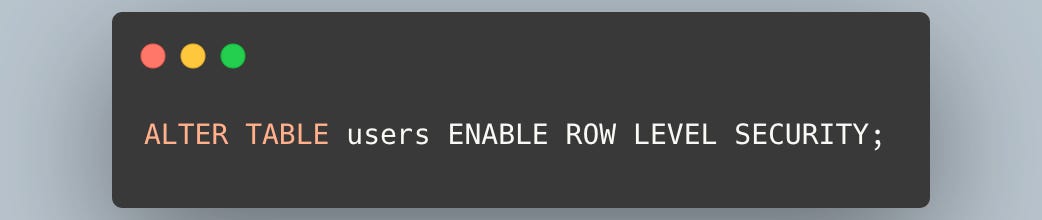
With this command, RLS is now active on the users table. However, this alone doesn't change anything yet.
Next, you define a policy.
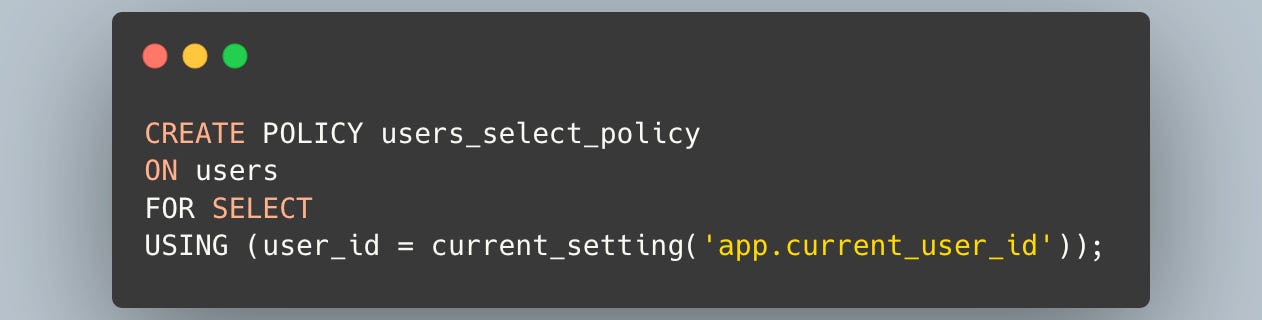
This policy states that SELECT operations on the users table are only allowed for rows where the user_id column matches the value of the app.current_user_id setting.
This ensures that a user can only access their own data.
But what is that unfamiliar current_setting('app.current_user_id') part? current_setting is a built-in PostgreSQL function that retrieves the value of a configuration parameter.
So, how do you set this app.current_user_id parameter? You can set it like bellow.
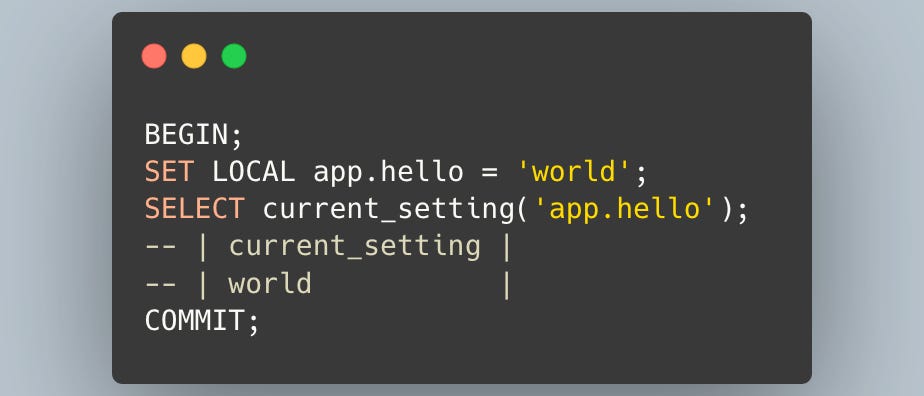
In this example, the app.hello parameter is only valid for the duration of this transaction.
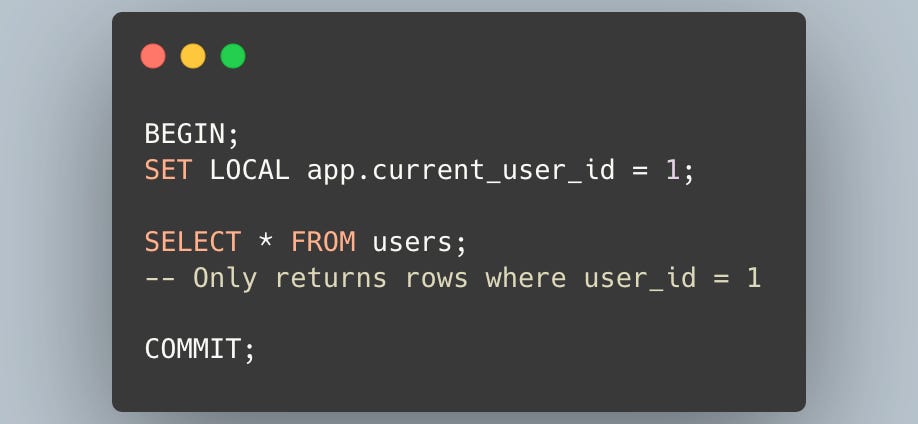
Using this mechanism, you can set the user_id at the beginning of a transaction, and all subsequent queries within that transaction will automatically be filtered by the RLS policy.
One drawback of this method is the need to wrap every query in a transaction. Technically, you don’t have to set the parameter in a transaction, but if you don't, and you're using a connection pool, one request might see the parameter value set by an old request. You could, of course, establish a new connection for every request, but that comes with significant overhead and can lead to max connection limit issues. Creating a helper function that injects the SET command before each query is another possibility, but the optimal solution will vary depending on the application.
Using a Role-based RLS Policy
This method requires a few more steps than the runtime parameter approach.
The first step—enabling RLS on the table—is the same.
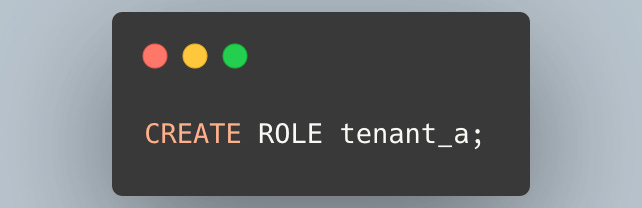
Additionally, you need to create a role. This is typically done during a migration, not at runtime.
Then, you create a policy. In this example, we'll allow a user to select any other user data as long as it belongs to the same tenant.
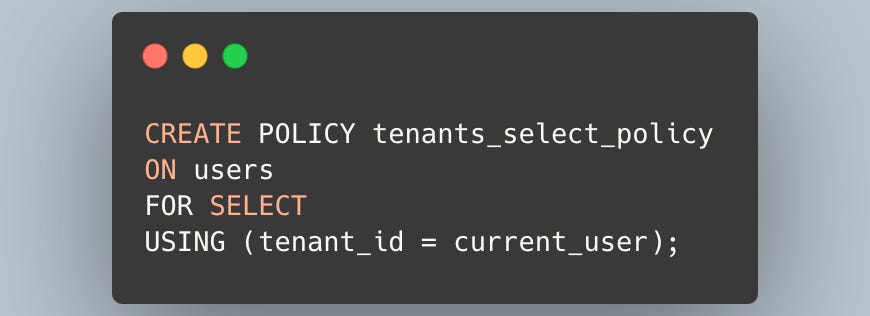
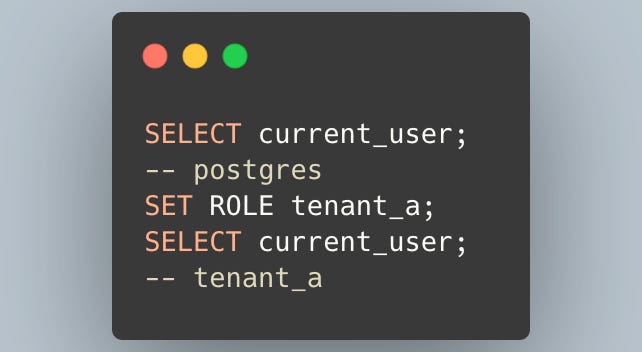
current_user is a PostgreSQL identifier that returns the name of the current role. Note that this "user" refers to the database role, not a user of your application. You can change this role with the SET ROLE command.
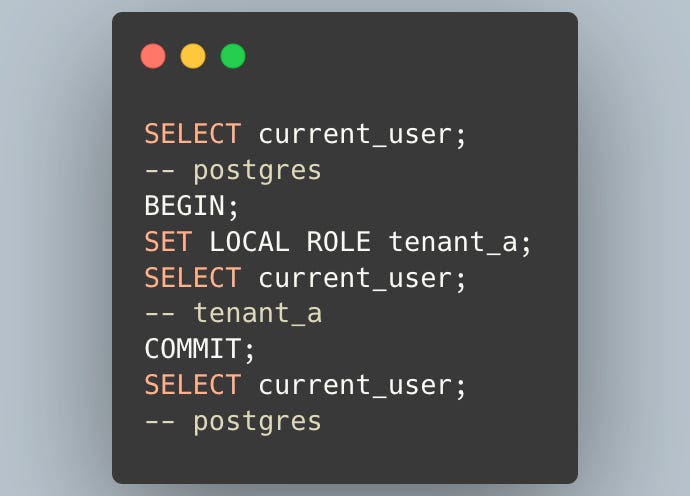
Within a transaction, you can use SET LOCAL to override the role for the duration of that transaction.
To set this up on the application side, you could consider a few approaches:
Execute
SET ROLEupon establishing a connection, and then maintain separate connection pools for each tenant. Your application would have a helper function that retrieves a connection based on a tenant ID.Similar to the runtime parameter method, use
SET LOCALto specify the tenant role within a transaction.
With role-based RLS, roles must be created in advance. This makes it unsuitable for fine-grained, per-user control, as creating a new database role every time a user signs up is not practical. However, it's a viable approach for broader categories like tenants, especially in B2B SaaS applications where tenants can only be created by admins.
Combining Methods
You can also combine the two approaches.
For example, you could grant an admin role access to all data, while a user role can only access their own records. Assuming you already have admin and user roles:
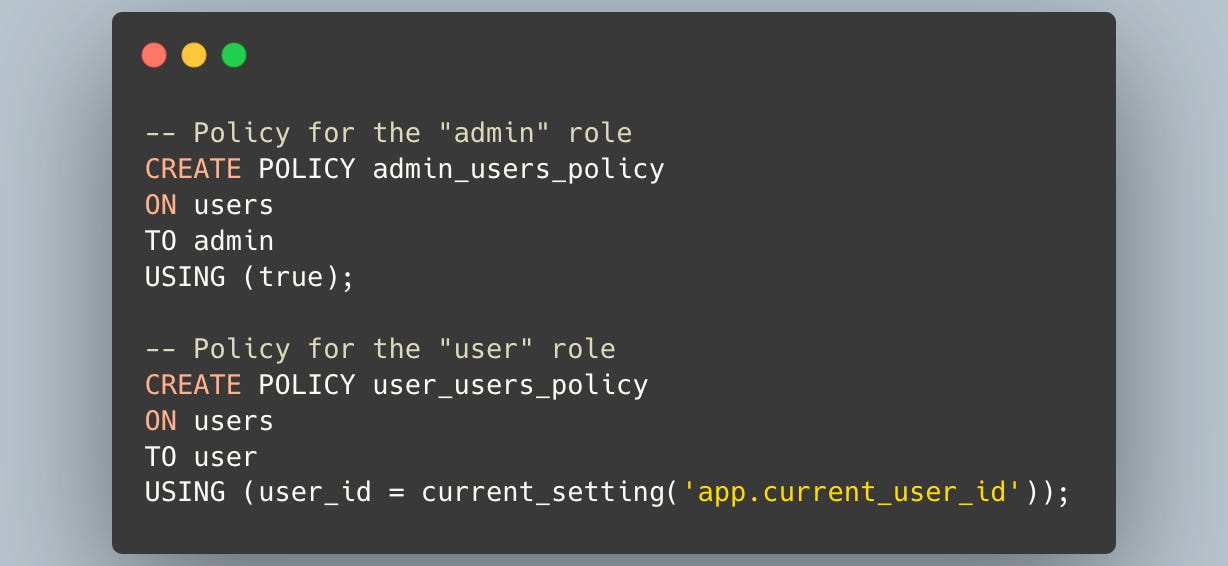
The TO role syntax allows you to apply a policy to a specific role, enabling you to enforce different rules for different roles.
On the application side, this might involve maintaining separate connection pools for admins and users, setting the appropriate role when each connection is established.
RLS in Supabase
So far, we've discussed RLS in the context of standard PostgreSQL. Now, let's look at the specifics of using RLS with Supabase.
While Supabase is built on PostgreSQL, it provides several convenient roles and functions that simplify RLS implementation.
One key difference is the default behavior. In standard PostgreSQL, if you enable RLS on a table without the FORCE option and there are no policies, all rows are accessible to everyone. In Supabase, however, enabling RLS immediately blocks all access to the table until a policy is explicitly created. This is a safer default.
Here is an example of an RLS policy created from the Supabase dashboard:
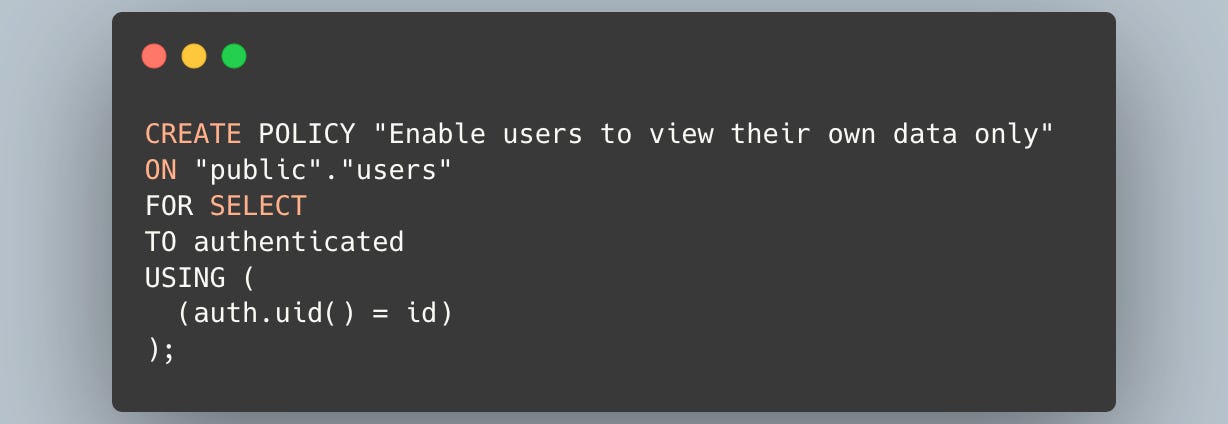
The two important parts to note here are authenticated and auth.uid().
authenticatedis a role name provided by Supabase that refers to any signed-in user. You can find more Supabase-specific roles in the official documentation.auth.uid()is a helper function provided by Supabase that returns the ID of the currently logged-in user. This allows you to implement per-user access control without needing to manually useSET LOCALas we did earlier.
So, Do I Really Need to Enable RLS in Supabase? YES!
The official Supabase documentation puts it plainly:
RLS must always be enabled on any tables stored in an exposed schema.
What happens if you don't enable RLS? Let's walk through a common scenario.
If RLS is Not Enabled
Most Supabase applications use supabase-js for authentication.
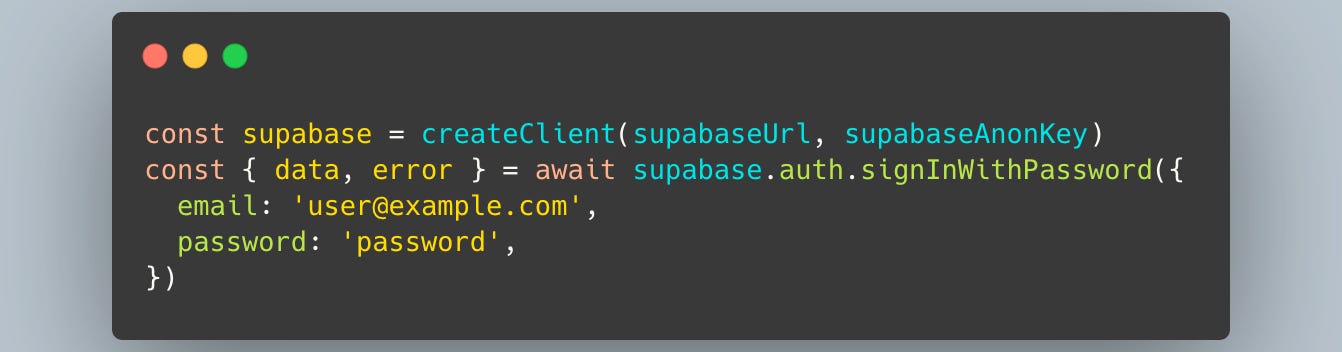
Upon a successful login, Supabase issues a JWT (JSON Web Token) to the browser. The client can then use this JWT to query the database directly.
The crucial point here is that this JWT defaults to operating with the authenticated role. What happens if a table does not have RLS enabled?
In that case, any user with the authenticated role can access the entire table without any policy restrictions.
This means a user who should only be able to see their own data could fetch everyone else's data stored in tables with no RLS policy.
For example, a malicious actor could sign up for an account and obtain a valid JWT. If any tables have RLS disabled, they could use that token to freely query them and exfiltrate other users' information. This is not just a theoretical risk; it has led to real-world security incidents.
Furthermore, Supabase also has an anon key (the public client-side key). A client created with this key operates with the anon role and can also access any table where RLS is not enabled.
But Not All Projects Using PostgreSQL Use RLS. Supabase Is PostgreSQL. So Why Do We Need It?
Yes. Not every web application in the world uses RLS. In fact, databases like MySQL don't even have this feature.
However, while Supabase is built on PostgreSQL, it isn’t simply “PostgreSQL itself.” It’s a platform that exposes PostgreSQL in a way that is directly usable by developers, often without a backend layer in between.
As a result, Supabase is public-facing by default. This makes features like RLS not just optional, but essential for keeping data secure in a public API environment.
To see why, consider a typical AWS setup with Cognito and RDS. Cognito, as a managed service, is public, but your RDS instance would almost always live in a private subnet, accessible only from internal servers. If external access were needed, you’d typically rely on something like an SSH tunnel—keeping the database itself private.
Supabase works differently. It combines both authentication and database access behind the same public endpoint. By design, you cannot simply “hide” the database in a private network.
That’s why Supabase relies on RLS. Without it, serious security issues could arise.
Software design always involves trade-offs. Supabase enables rapid development and simplicity, but this comes with the cost of being inherently public-facing. Recognizing this trade-off is critical: you must design with a security-first mindset.
So when planning your architecture, it’s a mistake to think, “I’ll just swap Cognito for Supabase Auth, and RDS for Supabase DB.” Instead, you need to think, “I am using Supabase,” and design your system according to its unique, public-facing nature.
Conclusion
In this article, we’ve looked at how RLS works and why it’s necessary given Supabase’s public-facing design. Supabase is powerful and convenient, but because it’s exposed by default, RLS isn’t optional — it’s essential. Always enable RLS and configure your policies carefully to keep your data secure.
DevHorizon has just started, but we regularly publish posts about system design and software development. If you enjoyed this article and want to see more like it, don’t forget to hit the subscribe button below.